Let’s be honest, our pets are a fluffy extension of our family… Just as we use our bedrooms and living rooms to relax, our pets deserve their own little space to chill out too.
If you’re at a loss as to what to do to create that space, then we’ve got you covered. And the best part is you don’t need to break the bank to do it.
Follow our video for a step-by-step guide to creating your very own DIY dog station, where you can store all your dog accessories, bedding and food.
Transcript
00:00:01 Music playing in the background throughout the video
00:00:02 On screen: DIY pet station
Finished pet station with a happy dog resting on his bed
00:00:05 On screen: What you’ll need
On screen: a wooden unit made to measure, cushions or bedding, storage bins, hooks, framed photo, a hammer and nails, a paint roller, an allen key, a screwdriver
00:00:13 On screen: Step 1 - Measure the area you want to transform for your unit
We see a person measuring the width of the of a door with a measuring tape
00:00:17 On screen: Step 2 - Assemble your unit
We see a person assembling a unit, the unit is screwed together using the necessary tools
00:00:24 On screen: Step 3 - Paint your unit the colour of your choice (optional)
As we see the person paint the unit in a bright shade of pink, with a paint roller
00:00:26 The unit is placed into the measured space (the doorway)
00:00:28 On screen: Step 4 - Hammer your nails to the wall for your picture frames
As we see the person carefully using a hammer and nails. A picture is then placed on the nail hook
00:00:34 On screen: Step 5 - Screw your pet accessory holder underneath your picture frames
We see the person position a pet accessory holder underneath the picture frame and screw it in using the necessary tools
00:00:38 On screen: Step 6 - Place your storage boxes into your unit
We can see the person placing various items including storage boxes inside the unit and hanging accessories on the hooks
00:00:47 Step 7 - Place your pet’s favourite comfy bedding on your unit
00:00:50 Finished dog station and with dog sitting on the station.
00:00:59 Finish
00:01:01 Video ends
What you’ll need:
- A wooden unit (depending on your measurements)
- Cushions or bedding
- Storage bins (you’ll need to one that’ll fit your wooden unit)
- Hooks
- Picture frame
- A hammer and nails
- A paint roller
- An allen key (check if one comes with your unit)
- A screwdriver
Note: Some of the items used in this DIY video may no longer be in stock so we’ve provided links to their best match.
Total Cost approximately: €97
Steps:
- Measure the area you want to transform into your new DIY dog station and find a unit to fit (please note that the unit we’ve used in our video might not be suitable for your chosen space).
- Once you’ve chosen your unit, assemble it as per the manufacturer’s instructions.
- Paint your unit a colour of your choice, unless you want to leave it with its original finish. Top tip: for surfaces like this, a roller is better than a brush in terms of efficiency and a smooth finish.
- Take one of your nails and hammer it into the wall where you want to hang your picture frame, ideally above your unit.
- Screw your pet accessory holder/hooks to the wall, underneath your picture frame.
- Depending on your chosen unit, place your storage boxes into your unit and fill them up with all your pet’s belongings.
- The final step is to put down your dog’s favourite, comfy bedding and hang up their accessories…et voilà!
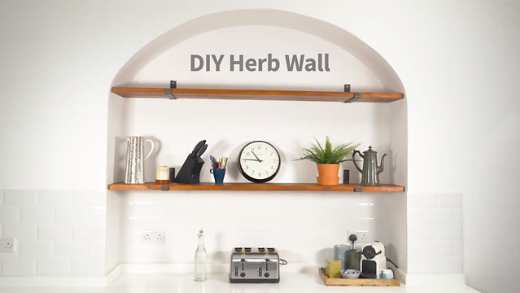
Got the DIY bug? Why not give our DIY herb wall a go? Not only will it create a sense of calm and wellbeing in your home, it’s also great for your diet!
At Aviva, we understand how important your home is to you and that’s why whether it’s gardening, painting, re-decorating or the less glamorous things like tips for safeguarding your house against bad weather, we’ll be there for you with Aviva home insurance.
Get 20% off when you buy your home insurance online. Take out a quote today.1


